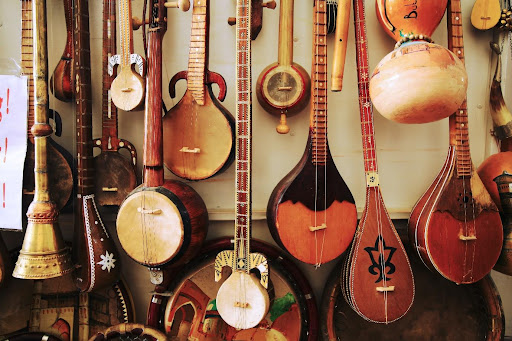
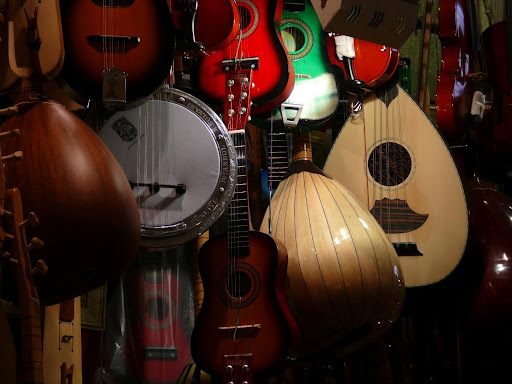
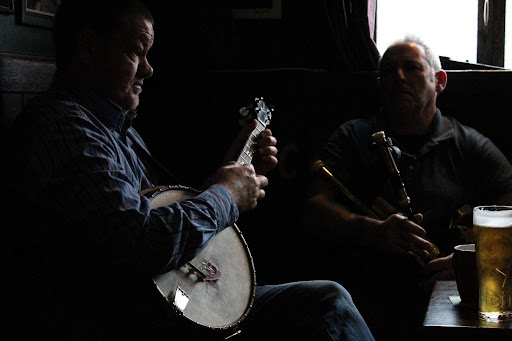
Banjo is a unique string instrument popular worldwide, especially in America. Introduced in the 17th century, a banjo looks quite similar to a guitar. But the body of the banjo is circular.
Although it looks similar to a guitar, a banjo makes a unique sound and music. Because of this uniqueness, people are becoming increasingly interested in purchasing and learning a banjo.
But banjo manufacturers have come up with numerous other options. Now you can purchase the raw materials and minimum parts to build your banjo. Banjo kit is a popular product for many banjo manufacturers today.
The section below traces the various steps in building a banjo from scratch and also the tips and tricks to perfect banjo playing.

What is An Open-Back Banjo?
An open-back banjo is a popular model banjo available. It is one of the bestsellers in almost every banjo manufacturer worldwide.
As the name indicates, an open-back banjo does not have a closed-back portion. The sound chamber is not covered by anything. This design makes the sound from an open-back banjo unique.
Instead of a back cover, more wood is mounted on the back for support. Due to these additional wooden parts, the open-back banjos may feel a bit heavier than a regular banjo.
Some significant features and interesting facts about an open-back banjo are as follows.
- Strings are arranged at a greater distance from the fretboard.
- Banjo players play an open-back banjo with no finger picks.
- The playing style of an open-back banjo is known as the clawhammer style.
- An open-back banjo usually produces a soft and mellow sound.
- These banjos are perfect for playing traditional songs.
- Due to the simple design, open-back banjos cost much less than the rest of the banjos.
Choosing the best materials and tools for your open-back banjo project
It is essential to have the best materials to build your banjo. Because the materials are responsible for the short or long life of the banjos.
Strings
Strings are available in numerous materials. Some of the popular ones are:
- Nylon
- Stainless Steel
- Phosphor Bronze
- Nickel-plated Steel
Although each material has positives and negatives, stainless steel and nickel-plated steel are the most common options.
Stainless steel strings prevent corrosion and help the banjos last quite a long. Nickel-plated steel strings are famous for the bright tone that they produce. It is also flexible with many music genres.
Body
There are abundant options available to choose from for a banjo body. Some popular materials are metal, wood, and other composite materials.
Wood
- The most common building material for banjos
- The best woods are maple, cherry, mahogany, etc.
- The sound of the banjo differs according to the wood.
Metal
- Not very common
- Aluminum and Brass are the common metals.
- Metal banjos can be open-back or closed-back
Composite Material
- Combination of two or more materials
- Popular combos are metal+plastic and wood+metal
Step-by-step instructions for building an open-back banjo from scratch
You can make an open-back banjo by acquiring the following parts. The material of the pieces should be picked based on the user’s liking.
- Fingerboard
- Peghead veneer
- Inlay blanks
- Fingerboard binding
- Fret wire
- Tuning pegs
- Bridge
- Armrest
- Strings
- Rim rod set
- Dye
- Retarder
- Reducer
- Sanding sealer
- Gloss lacquer
The section below explains the building process of an open-back banjo in simple steps.
Step 1
Building the Neck
- The neck board has a rod slot. You have to widen this slot to fit the rod properly. In the heel part of the neck board, fix a filler strip between the neck’s and rod’s ends.
- The peghead should be perpendicular to the banjo’s fingerboard plane. Arrange it in such a way and trace the outline of the peghead on the veneer. Now, sw the marked shape and make the edges smooth.
- Put the required number of tuning peg holes.
- Arrange the neck on the fingerboard and trace the neck’s shape on the back of the fingerboard.
- The thickness of the fingerboard’s binding should be considered while tracing the neck’s shape.
- Once the shape is traced correctly, carve the marked shape and make its edges smooth. You should use a file to smoothen the edges.
- Paste or fix the binding onto the fingerboard. Make sure not to leave parts of the glue on the fingerboard.
- Fix two locating pins at both ends of the neck. Now, position and press the fingerboard on the neck so that the locating pins mark the right places of the fingerboard.
- Using glue, fix the truss rod between the fingerboard and the neck using the mark of the locating pins for proper alignment.
- Ensure the flatness of the fingerboard.
- You can now complete the neck sanding and shape it accordingly.
Step 2
Adding Details to the Fingerboard
- You can draw any inlay designs on a piece of paper and use glue to stick them onto the inlay blanks.
- You can use a jeweler’s saw to create the inlay blanks carefully. Make sure to use needle files to smooth out the edges of the inlay.
- Now, you have to cut the inlay recesses. For that, you have to apply white paint to the inlay areas and position the chosen inlay to trace its shape on the area. You can now use this shape to cut the recesses properly.
- You can fix a recess in an inlay by mixing ebony powder and glue and using it.
- Now, install the side dots on the fingerboard.
- Take the end of the neck and install the frets. Make sure to cut the frets a bit longer than what is required. This helps with easy installation. You can then sand the extra part after installation.
Step 3
Connecting the Neck
- Hold the neck in the correct position with the banjo body. Use a drill to make enough holes at the exact dimensions.
- Insert the hanger bolts in the drilled holes and fix the neck to the frame.
- Test whether the fitting is tight and secure.
Step 4
Finishing Touches
- Pick the required color dyes and mix them with retarder and reducer and then color the banjo/s finished neck and other parts. Wood and gold tone are the popular shades.
- Scrape off any dye residue from the bindings.
- Cover the fingerboard using masking tape and apply a sanding sealer coat.
- Apply three to four glossy lacquer coats on top of the dried sanding sealer.
- Lightly sand the surface until the lacquer gets its maximum finishing.
- Apply a suitable polishing compound and a small amount of wax to complete the process.
Step 5
Final Assembly
- Insert the tuning pegs into the respective precut peg holes.
- Attach the head and the tension ring.
- Install the truss rod cover.
- Install the bridge and the strings. Tighten the strings in such a way that they do not buzz right away at all the frets.

Tips and tricks for customizing your open-back banjo to your preferences
You can continually improve your banjo’s tone, music quality, longevity, and many more elements based on your design and building choices. You can choose to customize your banjo to get the perfect product for you.
Many banjo manufacturers now provide the option to customize the banjos. The major customization options in the banjo head, tone ring, and material are available.
Following are some tips and techniques that may help you customize your banjo.
- Maple wood is the most versatile choice for a banjo. It helps brighten up the sound produced. It produces a highly responsive banjo. You can use maple banjos to produce both loud and soft music.
- Mahogany wood is a good choice if you don’t want an instantly responsive banjo. Also, mahogany banjos produce the warmest sound.
- Koa wood and walnut wood are great customization choices for regular, beginner-friendly banjos.
Tuning and maintaining your open-back banjo for optimal sound quality
It is essential to tune and maintain an open-back banjo. Because only a well-tuned banjo could produce the best tone and music. It is advisable to check the tune of your banjo whenever you play.
You use the tuning pegs on the banjo for the tuning process. Most of the time, you should spin the tuning peg a minimal amount to have the correct pitch.
You can start with one of the tuning pegs. Turn the peg and play the string to hear the pitch. Once the pitch is right, you can stop turning the tuning peg.
The tuning peg need not be turned in a clockwise direction for tuning. Sometimes you may have the correct pitch when you turn the peg in the anti-clock direction. So, turning the peg in both directions is advisable to ensure you settle for the best pitch.
You have to repeat the tuning process in each of the tuning pegs. Beginners may find it difficult to adjust the pegs in a minor quantity. Gradually, you will learn to exert only the right amount of pressure to adjust the tuning pegs.
You have to repeat this tuning process every time you decide to play an open-back banjo. Remember not to keep your face near the strings while tuning. As the pressure changes on the tuning pegs, chances are high for the strings to break and hurt anything near them.
Summary
Open-back banjos are famous for their soft sound, simple design, and lightweight construction. Many banjo manufacturers produce high-quality open-back banjos. But you can always make an open-back banjo from scratch with the right parts and accessories.
The building process involves several easy steps. Banjo kits are available in the market, which contain all the necessary materials and tools for building a banjo. You can also acquire parts independently and create a banjo. But after building, it is advisable to tune the instrument every time you play and maintain it properly to make it last longer.
FAQs
1. Which is better, open or closed-back banjo?
Open-back banjos are great for bluegrass and vintage music. They produce a soft sound and are less costly than the rest of the models. Closed-back banjos are very loud and the first banjo choice of professional musicians.
2. What is the effect of an open back on the banjo?
An open back reduces the volume of the music from the banjo. The result would be a mellowed-down, soft tone and melody.